Introducing TapAce
Wallet pass infrastructure for Sri Lankan businesses. Design any pass once, issue it to every customer and keep it current on Apple Wallet and Google Wallet.
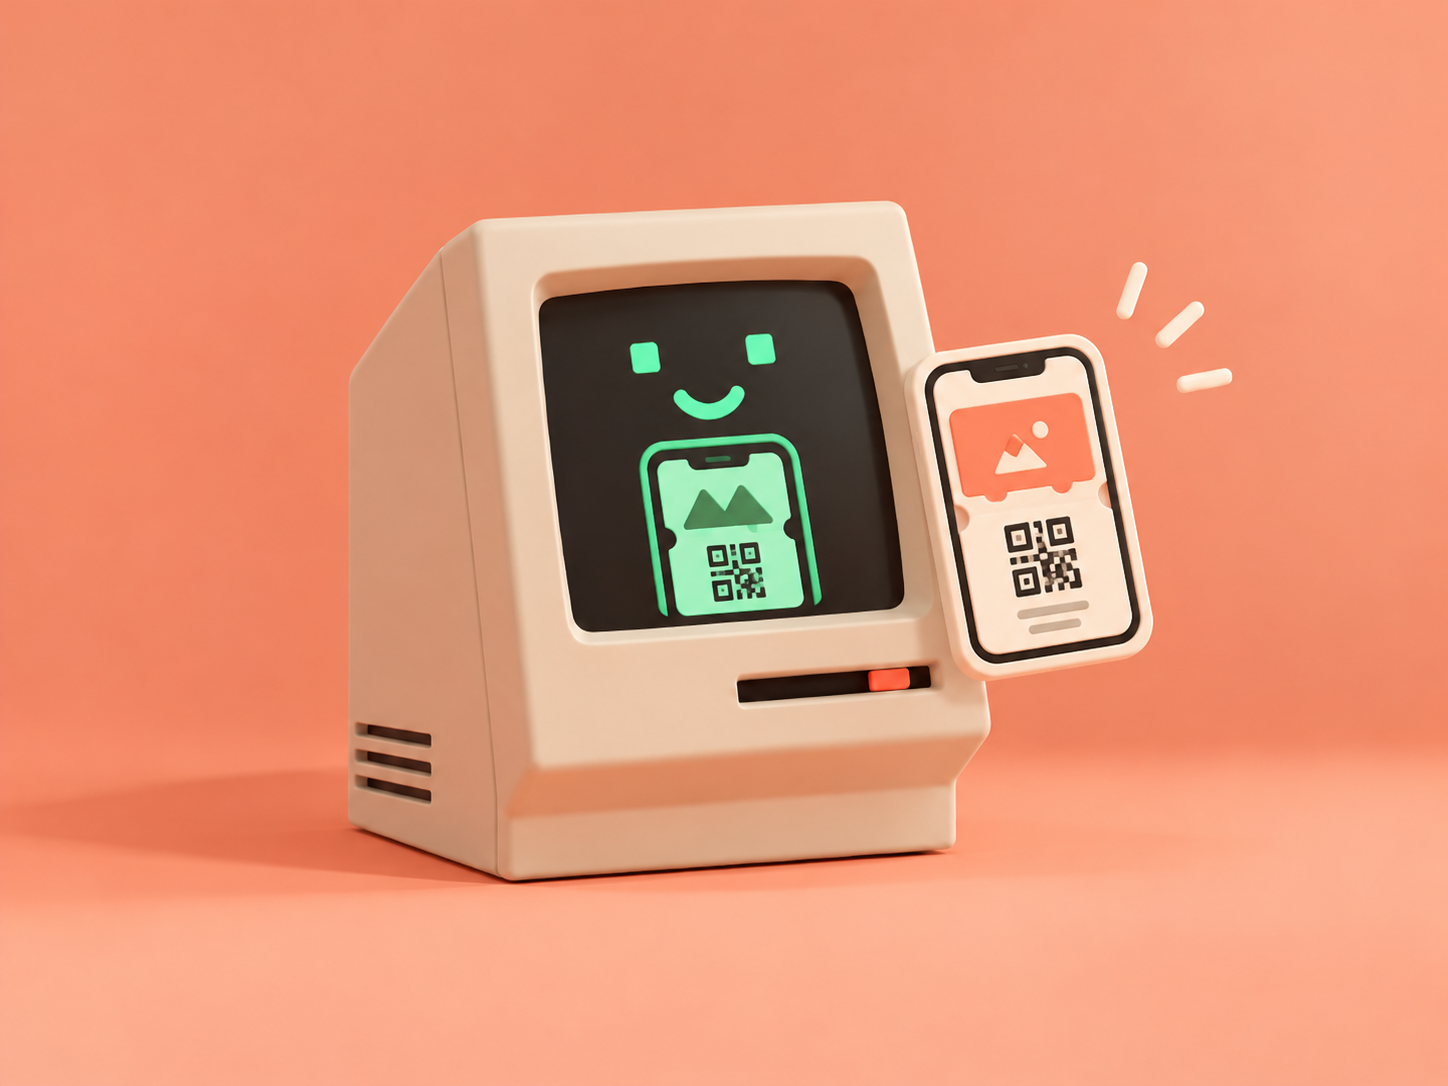
The cards people carry for a business, like a gym membership, a café stamp card or a concert ticket, usually live on paper, in an app they rarely open, or in an email they have to search for at the door. Apple Wallet and Google Wallet already fix that. They sit on almost every phone, open from the lock screen, and keep a card next to the bank cards people use every day.
Getting a pass into those wallets is the hard part. Apple wants a signed bundle and a certificate that expires every year. Google wants a different format, an issuer account and signed tokens. Then someone has to keep every saved pass current. TapAce does that work, so a business only has to decide what its pass should say.
What a wallet pass is
A wallet pass is a card saved in Apple Wallet or Google Wallet. It shows a few fields, like a name, a member number or a balance, along with a barcode or QR code that staff can scan. It can be a membership, a loyalty card, a ticket, a voucher or almost anything else a customer would otherwise keep in a physical wallet.
Unlike a PDF or a screenshot, a pass stays connected to the business that issued it. When the balance changes or the event moves, the pass on the phone can change too.
How TapAce works
- Design a template. Pick colours, a logo, the fields and the barcode once. Every pass issued from it follows the same design.
- Issue a pass. Create one pass per customer from the dashboard, or from your own system through the API.
- Send the link. Each pass has its own link. Share it by email, SMS or a QR code at the counter, and the customer adds it to the wallet on their phone.
- Keep it current. Change a field and the pass that is already saved updates as well.
Developers get the same steps in code. Send a template ID and the customer's details, and TapAce builds the pass for both wallets.
import { TapAce } from "@tapace/node"; const tapace = new TapAce({ apiKey: process.env.TAPACE_API_KEY,}); const pass = await tapace.passes.create({ templateId: "tmpl_membership", holder: { name: "Saminu Hansaja", email: "saminu@tapace.lk" }, fieldValues: { memberName: "Saminu Hansaja", memberNumber: "FM-00284", },}); console.log(pass.id);// → pass_8f2k1x Start in test mode
You don't need any Apple or Google credentials to start. Build a template, issue test passes and preview them on your own phone first. When you are ready to go live, you'll need an Apple pass certificate for Apple Wallet and a Google Wallet issuer account for Google Wallet. Signing setup is separate from design, so nothing you build in test mode has to be redone.
What's next
We're writing the documentation and the Node SDK now. This blog is where we'll share what ships, along with guides on designing, issuing and updating passes. If you want to try it in the meantime, the pass designer on the homepage shows how a pass looks in both wallets.